Collector Mode
Note
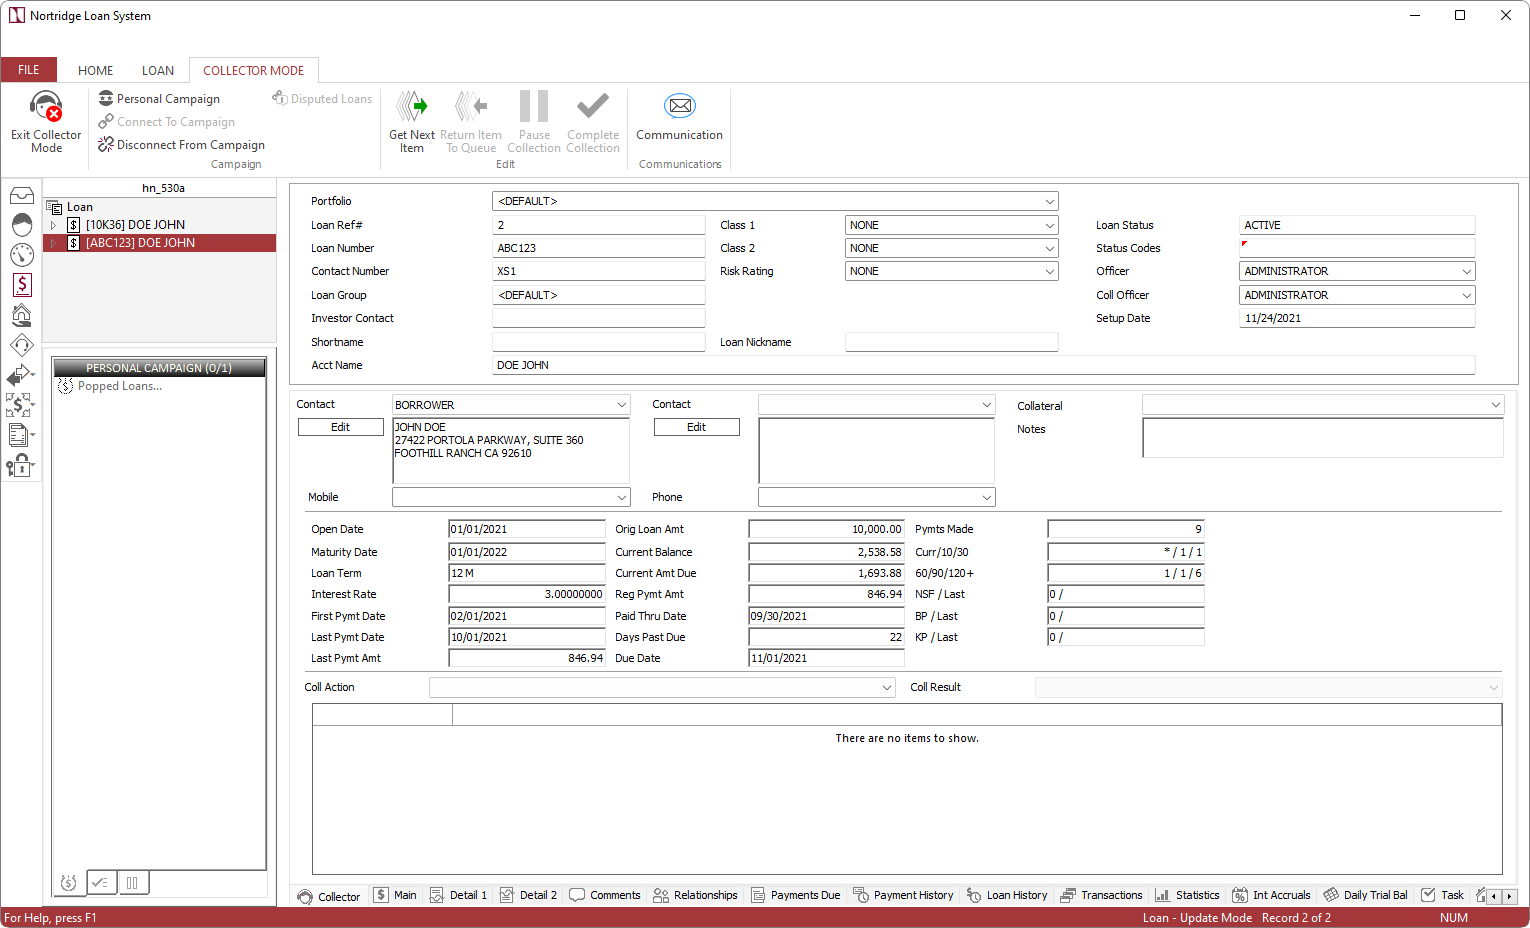
Collector mode is not available to read only users.The Collector Module allows you to see all information about a loan, pertinent to the collections process, on a single screen. To enter collector mode from loan query, click Collector Mode in the Loan tab.
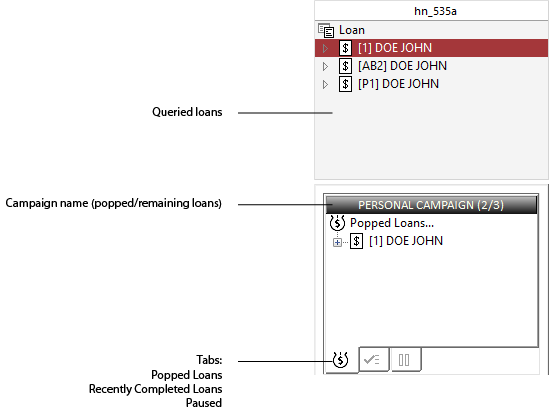
You can query for loans on the collector screen, or you can have the loans popped to the screen by a campaign.
| Command | Description |
|---|---|
 Personal Campaign Personal Campaign |
Starts a collection campaign with the currently queried loans. |
|
|
Displays a dialog to select a pre-defined campaign created with the Campaign Builder. |
 Disconnect from Campaign Disconnect from Campaign |
Disconnect from the current campaign. |
 Disputed Loans Disputed Loans |
Retrieves the list of loans in credit dispute requiring further action. See Credit Dispute Management by Sonnet. |
Once a loan has been popped or queried to the collector screen, you should have all contact and co-borrower information necessary to make collection calls. Select the collection action taken from the Coll Action drop down list. Then, based on the results of the collection call, select the result from the Coll Result drop down list. These options are pre-configured by your system administrator.
| Command | Description |
|---|---|
 Get Next Item Get Next Item |
Retrieves the next loan in the queue and places it in the  popped loans list. popped loans list.NLS 5.14 and later If the FDCPA Compliance option is enabled in System Defaults, loans meeting the compliance criteria will be skipped. |
 Return Item To Queue Return Item To Queue |
Moves the selected loan in the  paused list back into the loan queue. paused list back into the loan queue. |
 Pause Collection Pause Collection |
Moves the loan to the  paused list. May be used when a loan needs to be skipped or to be set aside temporarily. paused list. May be used when a loan needs to be skipped or to be set aside temporarily. |
 Complete Collection Complete Collection |
Moves the loan to the  completed list. completed list. |
Promise to Pay
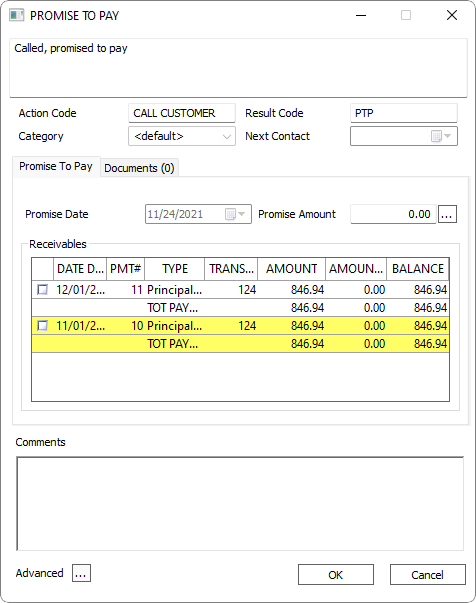
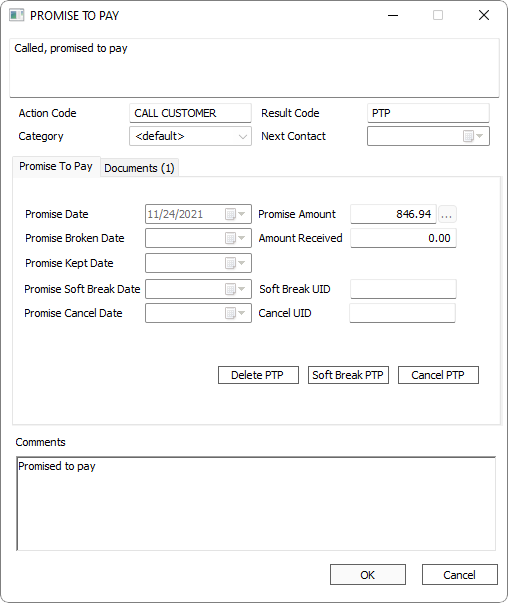
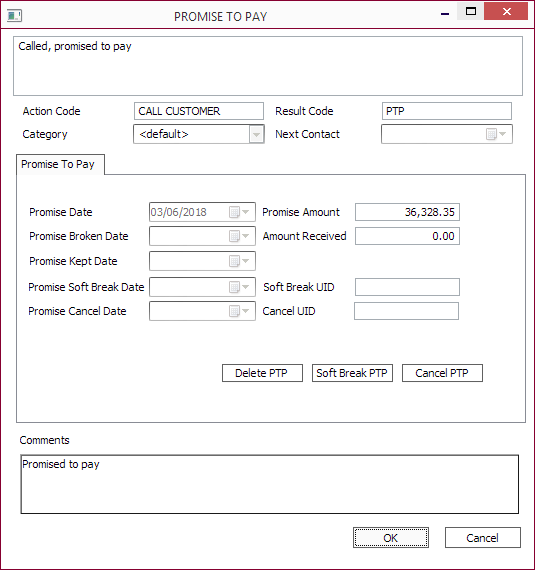
Depending on the combination of action and result codes, the result may pop up a secondary dialog or initiate a promise to pay. Promise to pay is configured for each collection code in Setup > Collector Setup > Collection Code.
Promise to pay dialog
If a secondary dialog pops up, fill in all of the appropriate fields of the secondary dialog. These fields are user-defined and were configured by your system administrator specifically for this action/result combination.
Promise to Pay Tab
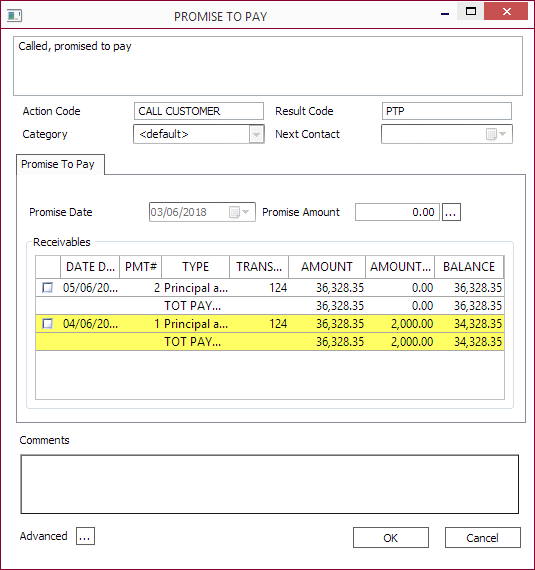
A promise to pay will require you to enter the date and amount of the promise to pay. Selecting the items in the Receivables list will automatically fill in the Promise Amount accordingly.
If a payment satisfying the full promised amount has not been made on that account by the date specified, the promise to pay will be marked as having been broken.
NLS 5.7 and later
Adding new PTPs, when totaled with all existing PTPs, exceeding the payoff amount is not allowed and an alert will be displayed.NLS 5.11 and later
Multiple PTPs may be added by clicking next to the Promise Amount field. This button is only visible when the Multiple Promise-To-Pay option has been selected in Collection Code setup.
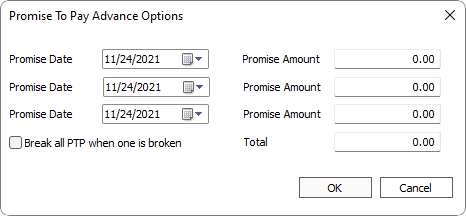
NLS 5.19 and later
Break all PTP when one is broken – when selected, any outstanding PTP that is entered as part of multiple PTPs will be considered broken when one is broken.
Beginning with NLS 5.19, multiple PTP entry is disabled by default. The option to enable this feature is in Setup > Collector Setup > Collection Code > Options.NLS 5.30 and later
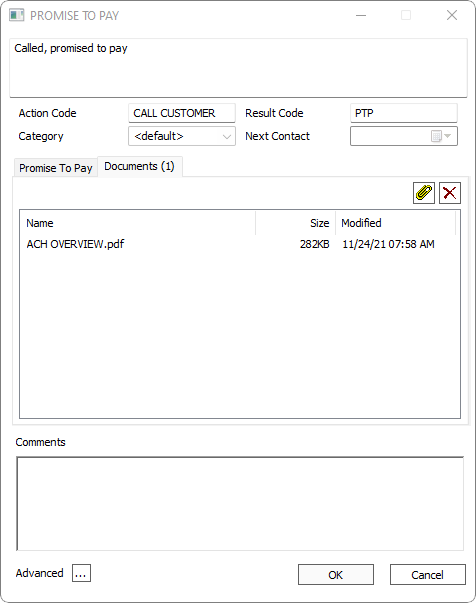
Documents may be attached to the PTP in the Documents tab. Click  and select a document to attach.
Double clicking the attached document will open the file with the application associated with that file type.
Updating a Promise to Pay
A promise to pay can be modified by double clicking the promise to pay listing at the bottom of the Collector Mode view.
NLS 5.6 and later
