Delivery Point Validation
Delivery Point Validation is a test of an address to verify that it is a valid deliverable address. Addresses entered in NLS will be validated with the database at the data center using a web service call from within NLS. This feature must first be enabled in Contact Setup > Defaults.
Support for Canadian address validation was added in NLS 5.6.
During address entry, NLS will automatically look up the address when the OK button is clicked.

An alert dialog will be shown if the address is not valid or if additional information is required for verification.
An icon will be displayed in the Address button when DPV is enabled to indicate if the entered address is:
Valid  or
or
Invalid  . A drop down list shows why the address could not be verified.
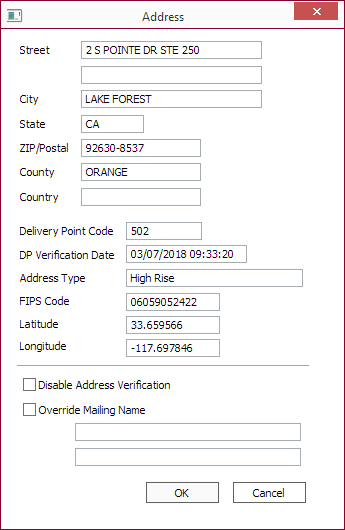
Also stored in the database are the delivery point code, delivery point verification date, address type, FIPS code, latitude, and longitude of the address.
Select Disable Address Verification to disable DPV for this address.
NLS 5.15 and later
Selecting Disable Address Verification will also exclude this address from verification in the batch delivery point validation process.Select Override Mailing Name and enter the addressee’s name as you would like it to appear in the fields provided.
Batch Delivery Point Validation
This option will allow for the validation of all addresses already entered into NLS.
Select Processing  > DPV Validation
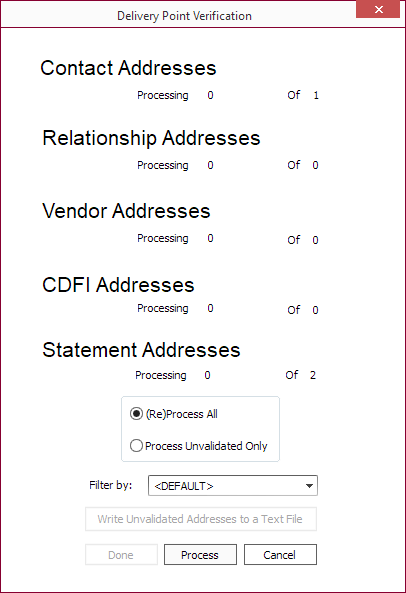
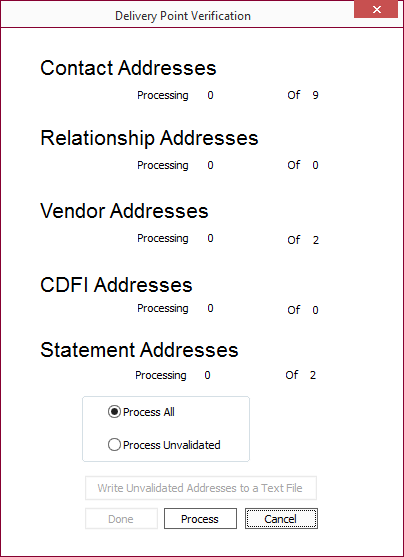
  from the shortcut bar to display a dialog showing the number of unique addresses found in the database under contact, relationship, vendor, CDFI, and statement categories.
Select Process All
NLS 5.18 and later
To validate addresses of only certain contact types, select the contact type from the Filter by drop down. Only contacts with the selected contact type(s) will have their addresses verified.For reference, when the validation process is complete, click Write Unvalidated Addresses to a Text File to save unvalidated addresses to a text file; enter a filename and choose the location to save the text file.
Click Done to dismiss the dialog.


