Team Foundation Server
Using a Team Foundation Server (TFS) will offer version control for certain aspects of NLS setup when using multiple databases. In this scenario, when a change is made to a setup on one database, it will be reflected on all databases.
TFS integration captures all user defined field settings and scripts. It can be useful for developing on a development environment then deploying to a production environment when ready.
Version control is available for the following setup parameters:
- System Setup > Global Script
- Contact Setup > Contact Type
- Loan Setup > Loan Portfolio
- Task Setup > Task Template
- Task Setup > Workflow
Setting up NLS for TFS
This feature must first be enabled in NLS.
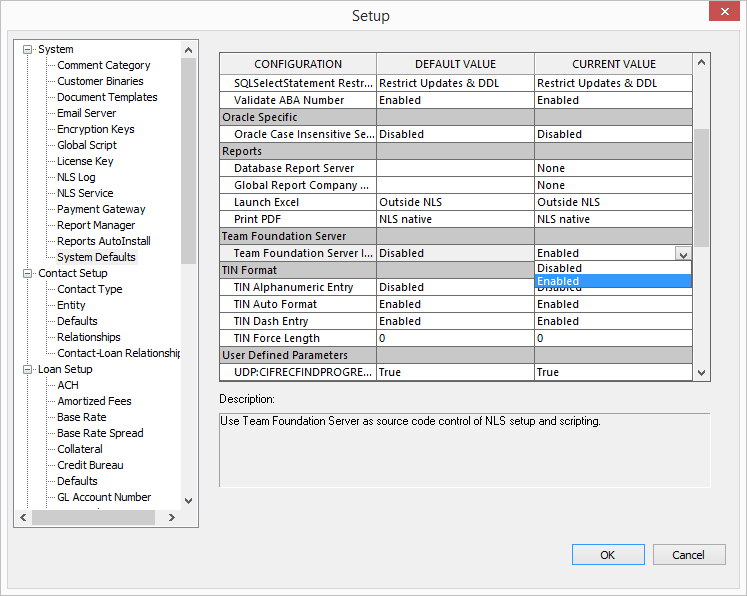
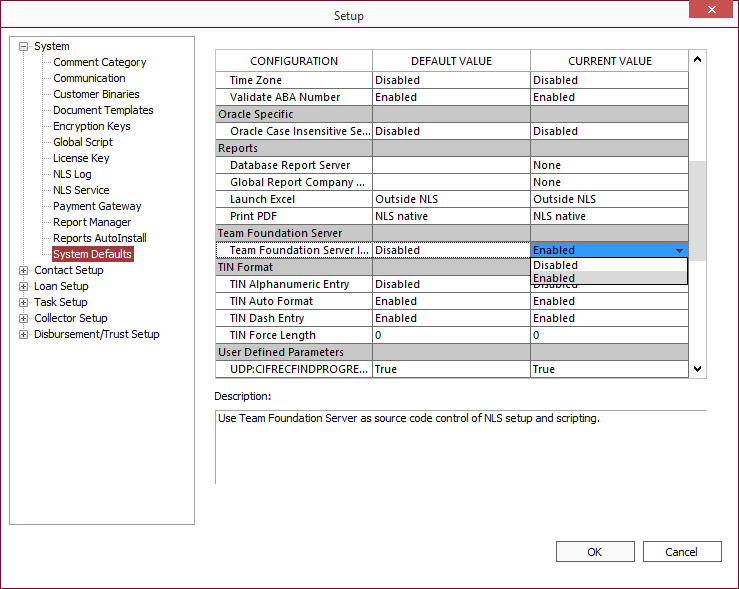
Click OK and restart NLS.
To connect to a TFS server, click on any of the TFS supported setup items then right-click and select Team Foundation Server (TFS) > Connect to TFS…. The contextual menu is accessed in different locations as described below.
| Global Script | Right-click anywhere in the script entry field. |
| Contact Type | Right-click on any contact type. |
| Loan Portfolio | Right-click on any loan portfolio. |
| Task Template | Right-click on any task template. |
| Workflow | Click on Workflow tab and right-click on any workflow. |
On the Team Foundation Server Connection dialog, enter the server location in the Projection Collection URI field. Specify the user authentication method. Enter the project name on TFS.
Note
The project name must begin with $/.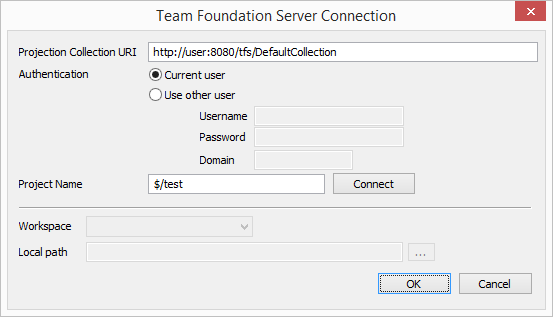
Click Connect.
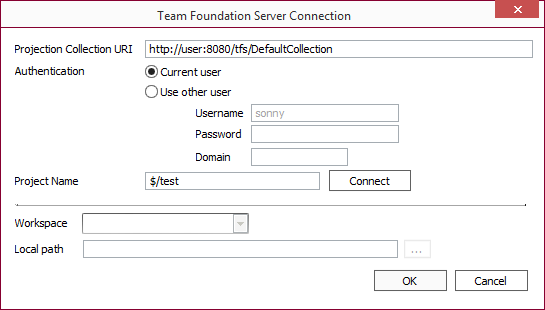
Once connected, create a workspace in your project folder on TFS then click 
 and select a local folder to where the workspace will be linked. Setup files are stored as XML files and any XML file in the TFS workspace will also be store on your locally linked folder.
Adding Items to TFS
Each setup parameter must be added to your TFS workspace before they can be shared with other databases. Use the same procedure to connect to a TFS, but select Add <item> to TFS where <item> is the name of the setup parameter being added.
When an item is added to TFS a new folder will also appear in your local linked folder. The folder contains an XML file where the parameters are stored and is also stored on the server.
When the file is being edited by a user, it is locked or “checked out” on the server so that no changes can be made by anyone else. A file that is unlocked or “checked in” can be edited.
Contact Type, Loan Portfolio, Task Template, and Workflow will display an icon next to each item when connected to a TFS. The icons and their definitions are:

|
The item has not been added to TFS. |

|
Item is checked in and ready to be checked out for editing. Item cannon be edited until it is checked out. |

|
Item is checked out and can be edited. |

|
Items is checked out by another user and cannot be edited until the item has been checked in. Hover the cursor over the icon to display a tooltip showing the user who currently has it checked out. |
To check out an item for editing, right-click and select Team Foundation Server (TFS) > Check Out. You should now see next to the item that you have just checked out. Once you have finished editing, save the changes by selecting Team Foundation Server (TFS) > Check In <Item>. Once the item is checked in, another user can select Get Latest Version to retrieve the latest version of the file.
Show History
Right-click and select Team Foundation Server (TFS) > Show History to show a history of changes made to the file. A dialog will open showing a version number of the file, the user that made the changes, date of modification, and a comment detailing the changes.
Differences between two versions can also be displayed by selecting two entries in the history list and clicking Diff. A split view window will display the first selected file in the left pane and the second file in the right pane. Differences between the two files will be displayed as color coded text to indicate deleted text (red), changed text (blue), and inserted text (green).
Change TFS Connection
Right-click and select Team Foundation Server (TFS) > Change TFS Connection… to open the Team Foundation Server Connection dialog for updating any of its information.
Export/Import
Setup items can also be shared with other users without the use of version control by exporting the XML file then importing it on another database. To do this, right-click on a setup item and select Export to file and save the XML file. Then on the other database, go to the same setup window, right-click on an item and select Import from file. Select the XML file that was exported and the new changes will be applied to the database.
This method is useful for when you only want to share a setup with particular users and not necessarily with all the users on the database.
